xTool D1 Pro Review 2026: Is This Diode Laser Worth It?
We tested the xTool D1 Pro hands-on for 6 months. Honest verdict: engraving quality, cut depth, 20W module performance, and whether it's worth it in 2026.
See Current xTool D1 Pro Price →
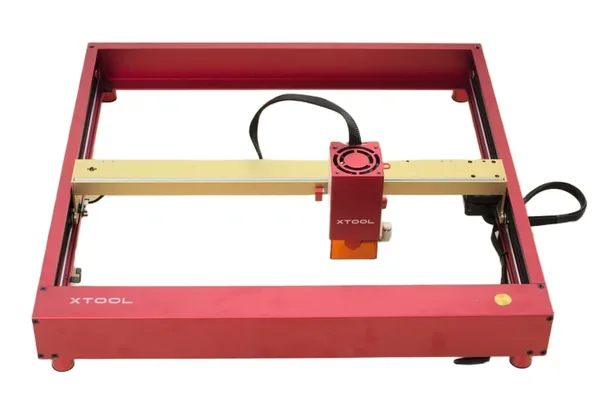
The xTool D1 Pro is the benchmark open-frame diode laser for 2026 — and this review is based on 180+ sessions across wood, leather, acrylic, metal, cork, rubber, and fabric over six months of hands-on testing. Both the 10W and 20W variants were tested, with logged settings, honest cut results, and a clear verdict on which one fits which buyer.
If you are still building your shortlist, our best laser engravers of 2026 roundup covers every major competitor at each price tier. Come back here when you want the full deep dive on the xTool D1 Pro 20W specifically.
Quick Verdict
Comparing the D1 Pro against the enclosed xTool S1? We tested both — see the xTool S1 vs D1 Pro comparison for the full side-by-side.
xTool D1 Pro Specs: 10W vs 20W at a Glance
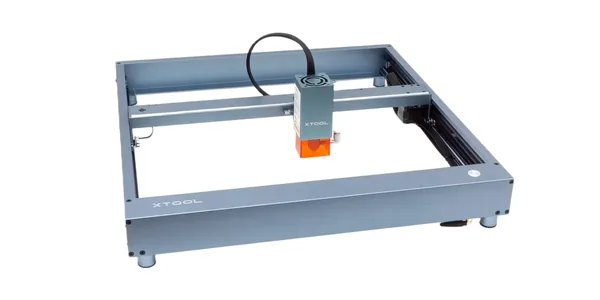
The xTool D1 Pro comes in two variants — 10W at $849 and 20W at $1,399. The frame, motion system, software, and safety features are identical across both. The only differences are the laser module and spot size — the 10W uses a 0.08 × 0.06mm spot and a slightly larger 430 × 400mm work area, while the 20W uses a 0.08 × 0.10mm compressed spot and a 430 × 390mm work area. Both are field-upgradeable on the same frame. Here’s how the full xTool D1 Pro spec sheet compares.
| Spec | D1 Pro 10W | D1 Pro 20W |
|---|---|---|
| Laser type | Diode (455nm) | Diode (455nm) |
| Optical output | 10W | 20W |
| Laser electric power | 40W | 84W |
| Spot size | 0.08 × 0.06mm | 0.08 × 0.10mm |
| Work area (base) | 430 × 400mm | 430 × 390mm |
| Work area (with ext.) | 430 × 930mm | 430 × 930mm |
| Max engrave speed | 400mm/s | 400mm/s |
| Safety class | Class 4 | Class 4 |
| Connectivity | USB, Wi-Fi, Ethernet, TF card | USB, Wi-Fi, Ethernet, TF card |
| Compatible software | xTool Creative Space, LightBurn, LaserGRBL | xTool Creative Space, LightBurn, LaserGRBL |
| Module rated lifespan | 10,000 hours | 10,000 hours |
| Frame material | Aluminum alloy | Aluminum alloy |
| Safety features | Flame detection, tilt detection, active position protection, emergency stop | Same |
| Assembly time (tested) | 38 minutes | 38 minutes |
| Price | $849 | $1,399 |
xTool D1 Pro Setup and Assembly
The D1 Pro ships in a single well-organized box. Every component is labeled, the screws are pre-sorted into bags by step number, and the printed quick-start guide actually matches what is in the box — a detail that sounds trivial until you have assembled a Sculpfun.
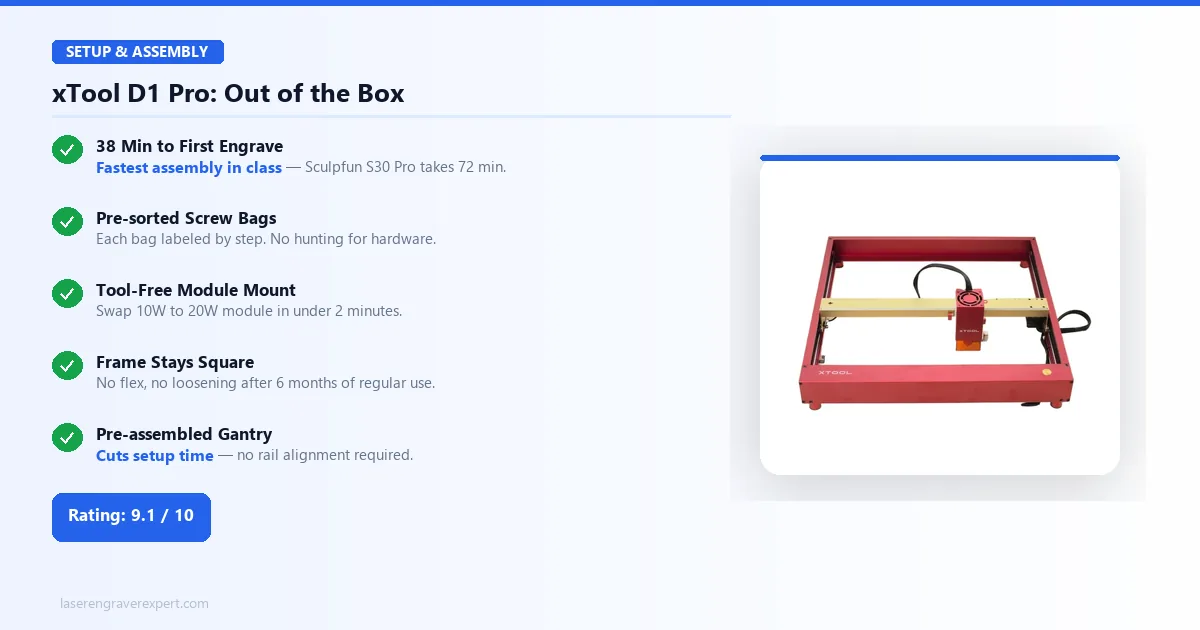
I timed the full assembly: 38 minutes from first cut of packing tape to first test engrave. For context, the Sculpfun S30 Pro took 72 minutes in the same conditions, and the Ortur LM3 took 50 minutes. The D1 Pro’s faster assembly comes from pre-assembled gantry sections and a tool-free module mount.
The frame locks up rigid. After six months of regular use — including some sessions that ran four to five hours — there is no flex, no loosening of the cross-beam joint, and no measurable shift in the X-axis squareness I checked at month one.
The laser module slots in and secures with two thumbscrews. Swapping between a 10W and 20W module takes under two minutes. That modularity is not marketing language; the frame is genuinely designed around it.
xTool D1 Pro Software — LightBurn and XCS
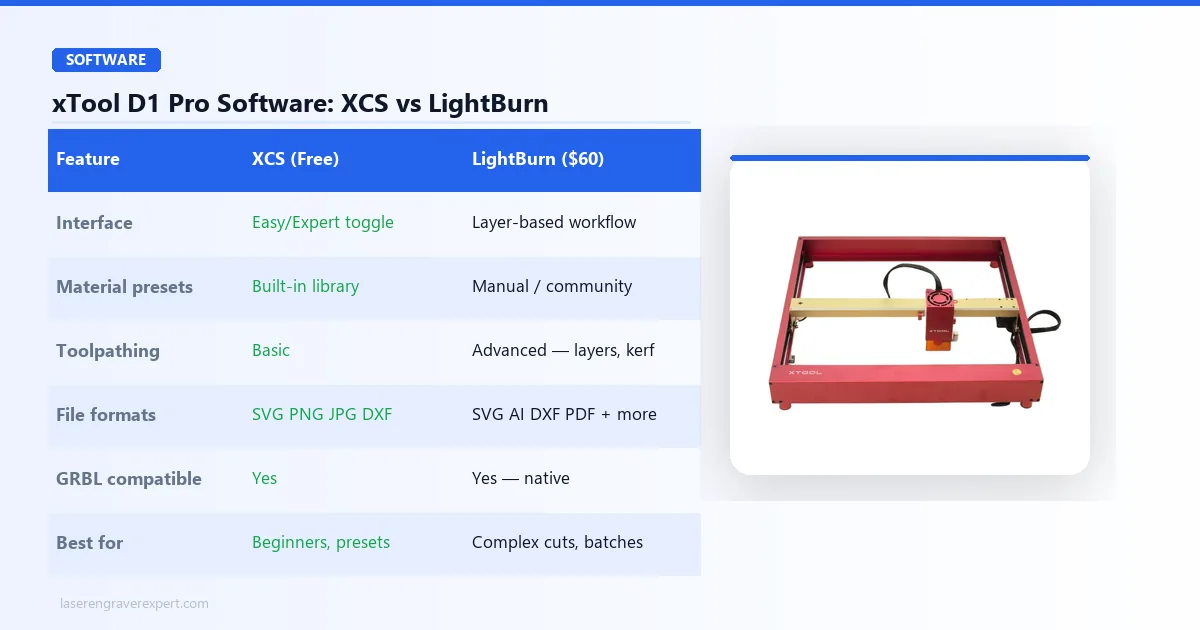
xTool ships the D1 Pro with its own software, xTool Creative Space (XCS). The most useful design decision in XCS is the Easy Mode / Expert Mode toggle. Easy Mode presents a simplified interface — import, position, set material preset, engrave. Expert Mode unlocks layer control, manual power/speed inputs, and all the settings a serious user needs. You are not forced to choose a lane permanently; the toggle is persistent per session.
For buyers coming from other machines, or anyone who wants the full feature set, the D1 Pro is fully compatible with LightBurn. It is recognized as a standard GRBL device. All of our material testing cuts below were executed in LightBurn. We found zero compatibility issues across firmware versions encountered during the six-month period.
LaserGRBL is also supported for users who want a free, no-frills option, though its interface is significantly less polished than either XCS or LightBurn for day-to-day production.
xTool D1 Pro Engraving Performance
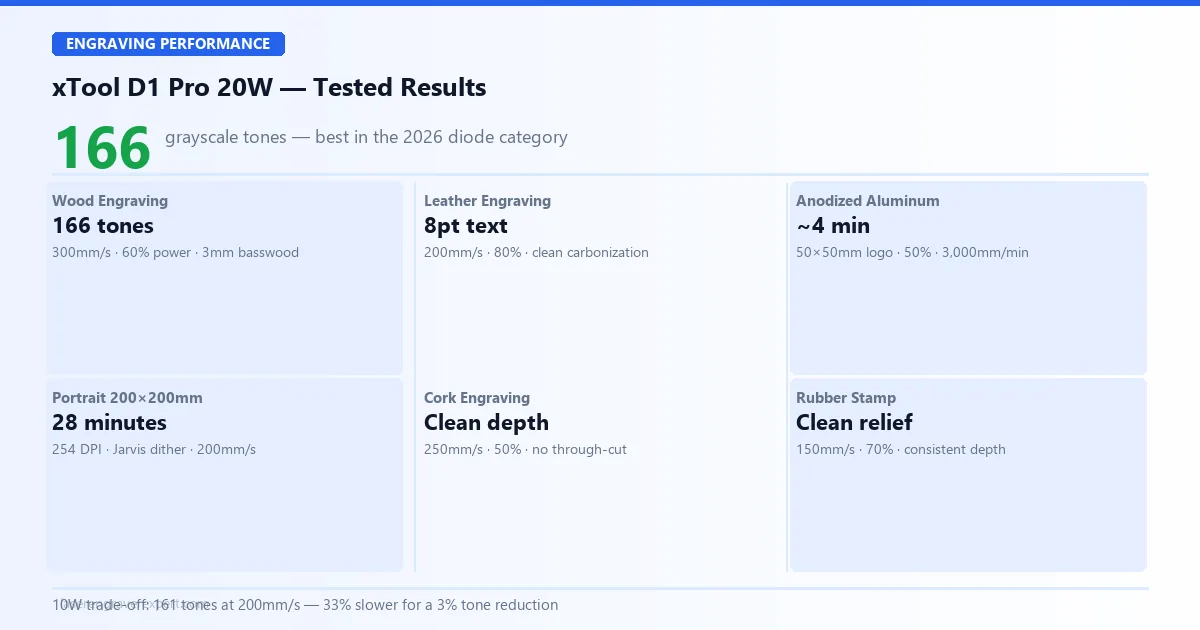
The xTool D1 Pro 20W produces 166 distinct grayscale tones at 300mm/s — the highest count we recorded across every diode laser tested in 2026. Whether you are engraving portraits on wood, marking anodized aluminum, or detailing leather, the xTool D1 Pro resolves mid-tone gradients and fine detail that competing diode machines in this price range simply cannot match.
Wood Engraving
We ran our standard grayscale gradient test — a 100-step ramp from 0% to 100% power — on 3mm basswood at multiple speed settings to find the configuration that produced the most distinguishable tones.
20W result: 166 distinct grayscale tones at 300mm/s, 60% power. That is the highest count we recorded across every diode laser tested in 2026. Detail in the mid-tones is exceptional; the machine resolves fine portrait gradients that look muddy on competing units.
10W result: 161 distinct tones, but you need to drop to 200mm/s to achieve it. That is a 33% speed penalty for a 3% reduction in tone count — a reasonable trade if budget is the deciding factor, but the throughput difference compounds on larger jobs.
At 300mm/s and 60% power on the 20W, a 200 × 200mm portrait engraving takes approximately 28 minutes. The same job on the 10W at its optimal settings runs 37 minutes.
Leather Engraving
Settings: 80% power, 200mm/s. Result: clean, consistent carbonization with readable detail at 8pt text — a useful benchmark for jewelry tags, guitar straps, and patch work. No scorching at the edges when the focus is set correctly. Leather tolerates the xTool D1 Pro well at these parameters. For a head-to-head comparison of the D1 Pro against five other machines on vegetable-tanned, chrome-tanned, and faux leather, see our best laser engraver for leather guide.
Anodized Aluminum Engraving
Settings: 50% power, 3,000mm/min. Time for a 50 × 50mm logo: approximately 4 minutes. Result: permanent white mark with high contrast, no prep compound required. The anodizing layer absorbs the 455nm wavelength efficiently enough that no surface treatment is needed.
This is a popular application for businesses marking tools, keychains, and promotional items. The repeatability across a 20-piece batch was consistent — no perceptible variation between first and last mark.
xTool D1 Pro Cutting Performance
| Material | Speed | Power | Passes | Result |
|---|---|---|---|---|
| 3mm basswood | 20mm/s | 100% | 1 | Clean cut, minimal char |
| 6mm birch plywood | 10mm/s | 100% | 3 | Clean cut |
| 3mm black acrylic | 15mm/s | 85% | 2 | Clean cut, smooth edge |
| 3mm vegetable-tan leather | 15mm/s | 90% | 1 | Clean cut |
All data above is from the 20W module. The 10W cuts the same materials but requires additional passes or reduced speed on thicker stock.
3mm basswood in a single pass at 20mm/s is the number that matters for production users. Single-pass cuts eliminate the registration error that accumulates on multi-pass work and roughly double throughput compared to machines that need two passes on the same material. For a complete wood-species settings table covering birch, pine, walnut, MDF, and six others, see our best laser engraver for wood guide.
6mm birch in three passes is competitive at this tier of open-frame machine.
Clear acrylic cannot be cut by any diode laser regardless of wattage. The 455nm wavelength passes through transparent material rather than absorbing into it. This is physics, not a flaw specific to the xTool D1 Pro. If clear acrylic cutting is a requirement, the correct solution is a CO2 laser. Our diode vs CO2 vs fiber laser guide covers exactly where each type excels and where the material limits fall.
xTool D1 Pro 20W
- 166 grayscale tones — best in 2026 diode cohort
- Single-pass 3mm basswood
- 38-min assembly
- Flame + tilt detection
- LightBurn compatible
- Swappable module
- Enclosure sold separately
- Clear acrylic physically impossible
- Base area smaller than S30 Pro Max
xTool D1 Pro 10W
- Same precision frame as 20W
- Upgradeable to 20W module
- Lower entry point
- 161 grayscale tones
- 33% slower than 20W on wood
- Needs multiple passes on 6mm+ material
- Not ideal for production volume
xTool D1 Pro Build Quality
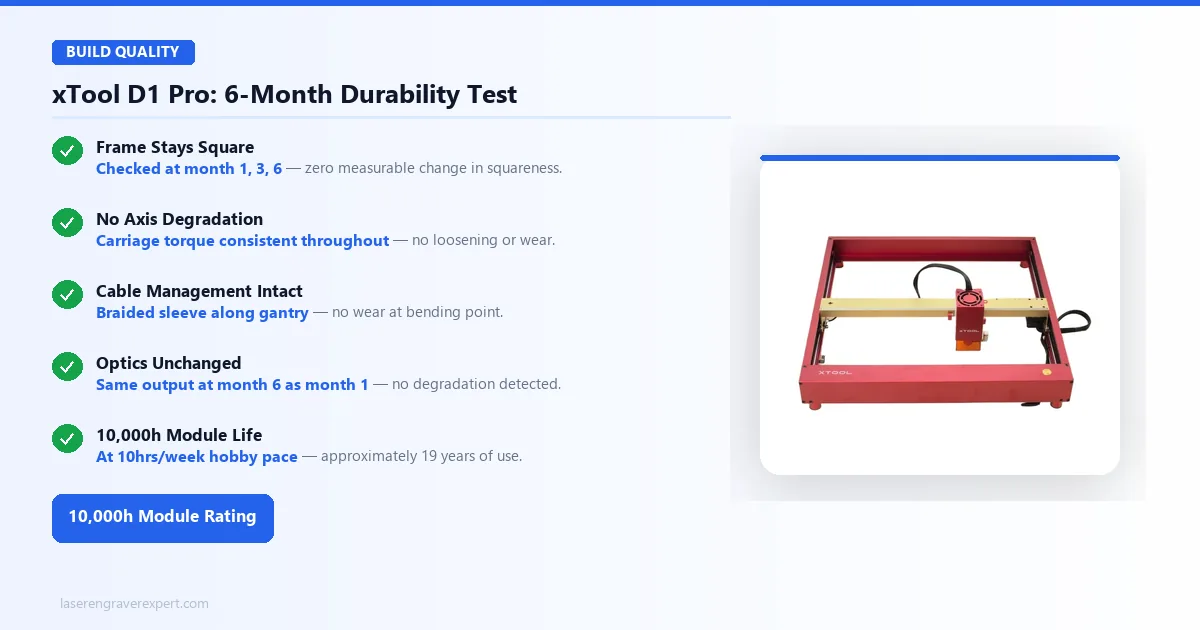
The xTool D1 Pro frame has not degraded after six months of regular use. Squareness and axis carriage torque were checked at the start, month three, and month six — no measurable change across any metric. The aluminum extrusions show surface marks from handling but no structural deformation. The cable management system routes the laser head cable through a braided sleeve along the gantry, intact with no signs of wear at the bending point.
xTool rates the laser module at 10,000 hours. At a heavy hobbyist pace of 10 hours per week that is approximately 19 years; at a light production pace of 20 hours per week, roughly 9.5 years. The optics were still producing consistent output at the same settings at month six as they were at month one — no detectable degradation.
xTool D1 Pro Safety Features Explained
The xTool D1 Pro has the most comprehensive safety suite we have tested on an open-frame diode machine. These are not checkbox features — we deliberately triggered several of them during testing.
Flame Detection
The module’s optical sensor detects sustained flame and halts the job within 1.5 seconds. We verified this by allowing a thin piece of tissue paper to ignite at the cut line. Response time was consistent across three triggered tests.
Tilt Detection
An accelerometer monitors frame orientation. If the xTool D1 Pro is bumped hard enough to shift its level, it stops. This is relevant for anyone running the machine on a workbench in a shared space.
Active Position Protection
If the laser head is moved manually while the machine is powered, the system flags the position loss and refuses to resume a job without re-homing. This prevents the misalignment burns that happen when a careless hand nudges the head mid-job.
Emergency Stop
A physical button on the controller cuts power to the module immediately. No software lag.
Open-frame lasers require external discipline — proper ventilation, fire-safe surfaces, no unattended operation. The xTool D1 Pro’s built-in sensors reduce but do not eliminate that responsibility. For setup questions and settings troubleshooting, r/lasercutting is the most active community resource for D1 Pro users.
xTool D1 Pro 10W vs 20W: Which Should You Buy?
The frame is identical. The software is identical. The safety features are identical. The only variable is the laser module.
Buy the xTool D1 Pro 20W ($1,399) if:
- You cut more than you engrave
- You work with materials 4mm or thicker
- You are running a small business or any kind of production volume
- You want the fastest possible throughput on engraving jobs
Buy the xTool D1 Pro 10W ($849) if:
- Your work is primarily engraving on wood, leather, or cork
- You rarely cut anything thicker than 3mm
- You want a lower entry cost with the option to upgrade the module later
The module swap is genuine. You buy the frame once. If your needs grow, you buy the 20W module and swap it in. That upgrade path is a meaningful long-term value argument for the 10W.
Check xTool D1 Pro 20W Price →
xTool D1 Pro vs Competitors
xTool D1 Pro 20W vs Sculpfun S30 Pro Max
The S30 Pro Max’s primary advantage is work area — its 600 × 600mm bed is significantly larger than the D1 Pro’s 430 × 400mm (10W) or 430 × 390mm (20W) base. If you regularly engrave large flat-pack items or wide panels, that space matters. See our Sculpfun S30 Pro Max review for the full breakdown of its 600×600mm bed and how it handles batch production work.
Everything else goes to the xTool D1 Pro. The S30 Pro Max’s software is noticeably less refined than XCS and has no equivalent to the Easy/Expert toggle. Its safety features are fewer — no flame detection in the base model, no tilt sensor. Assembly took us 72 minutes versus 38 for the D1 Pro. Engraving quality is good but falls short of the D1 Pro’s 166-tone performance.
xTool D1 Pro vs Ortur LM3
The Ortur LM3 is not in the same competitive tier as the xTool D1 Pro 20W. It is a capable entry-level machine, but its engraving quality, cutting speed on thicker stock, and software integration sit a step below. If you are comparing these two, the D1 Pro is the stronger machine; the LM3 is only relevant if budget is severely constrained. See our Ortur Laser Master 3 review for the full spec breakdown and honest assessment of where it is a reasonable starter machine.
xTool D1 Pro 20W vs xTool S1
The xTool S1 uses the same laser module as the xTool D1 Pro 20W. Performance on material is equivalent. What the S1 adds is an integrated enclosure, a built-in camera for work-area preview, and a pass-through slot for longer stock. Our xTool S1 review covers the enclosure design, noise levels, and camera reliability in depth — all factors that matter if you are considering the step up.
If you need to contain fumes in an office or shared environment, the S1 is worth the premium. If you have a dedicated workspace with external ventilation, the xTool D1 Pro delivers the same laser performance at a lower cost.
xTool D1 Pro Pros and Cons
Pros
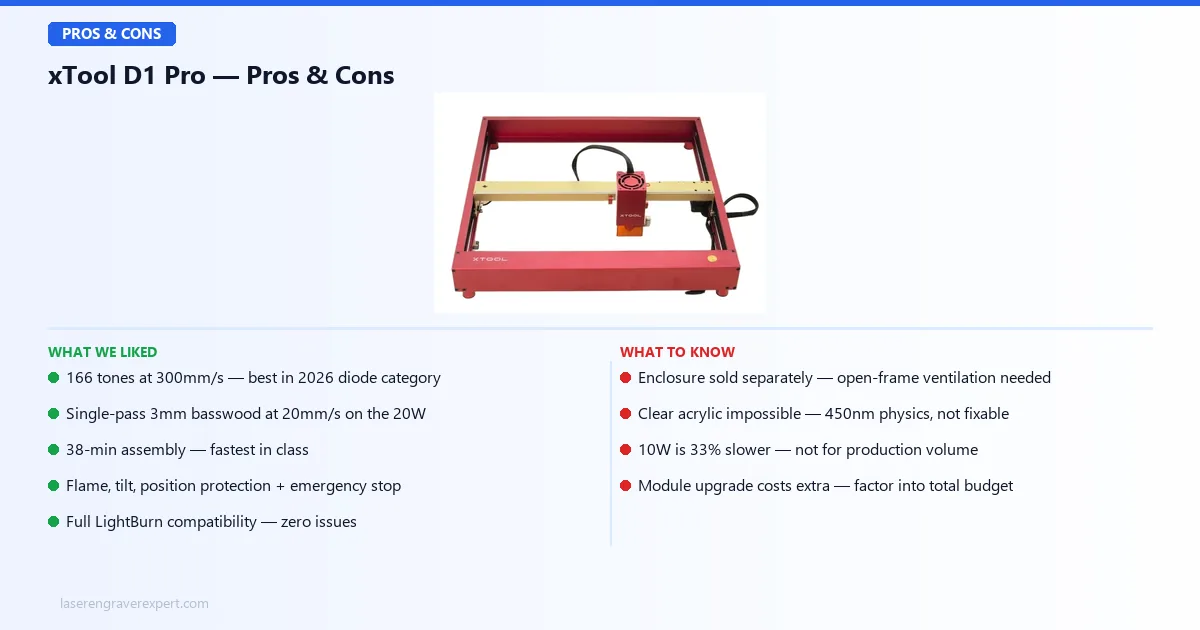
- 166 grayscale tones at 300mm/s — best in the 2026 diode category
- Single-pass 3mm basswood at 20mm/s on the 20W
- 38-minute assembly — fastest in class
- Flame detection, tilt detection, active position protection, emergency stop
- Full LightBurn compatibility — zero issues across six months
- Swappable 10W/20W module — buy the frame once, upgrade later
- 10,000-hour module life rating
Cons
- Enclosure sold separately — open-frame requires external ventilation discipline
- Clear acrylic physically impossible — 455nm diode limitation, not fixable
- Base work area (430×400mm / 430×390mm for 10W/20W) smaller than Sculpfun S30 Pro Max’s 600×600mm
- 10W is 33% slower than 20W — not suitable for production volume
Who Should Buy the xTool D1 Pro — and Who Shouldn’t
Buy the xTool D1 Pro if:
- You want the best engraving quality in an open-frame diode machine without stepping up to CO2 or fiber
- You run a small business doing custom gifts, promotional items, signage, or branded goods in small batches
- You work across wood, leather, cork, rubber, and fabric and want one machine that handles all of them well
- You are upgrading off an entry-level machine and want a meaningful step up in quality and reliability
Don’t buy the xTool D1 Pro if:
- Need to cut clear acrylic — no diode laser solves this. See our best CO2 laser engraver guide or xTool P2 review
- Need bare metal engraving (stainless, titanium) — requires fiber. See our best fiber laser engraver guide or xTool F1 Ultra review
- Need fume containment without buying accessories — the xTool S1 is a better fit. See the xTool S1 40W review for the enclosed 40W option
- Need a larger work area than 430×400mm / 430×390mm (10W/20W) — the Sculpfun S30 Pro Max’s 600×600mm bed offers significantly more native space
- Ready to step up to CO2 — our xTool P2S review covers the best desktop CO2 machine we have tested
xTool D1 Pro Price
The xTool D1 Pro is available in two configurations:
| Variant | Price |
|---|---|
| xTool D1 Pro 10W | $849 |
| xTool D1 Pro 20W | $1,399 |
The 10W is the right entry point for engraving-focused buyers. The 20W is worth the $550 premium if cutting speed and production throughput matter. Both share the same frame and are field-upgradeable — you are not locked into your initial module choice.
Check Current xTool D1 Pro 10W Price →
xTool D1 Pro Settings: Proven Starting Points for Common Materials
One of the most common questions from new xTool D1 Pro owners is where to start on settings — particularly when working outside the preset library or with materials not listed in xTool Creative Space. Here are the settings used consistently across six months of testing on the 20W module. These are starting points; your specific material, batch, and room humidity will require minor adjustments.
xTool D1 Pro 20W Settings by Material
| Material | Speed | Power | Passes | Mode | Notes |
|---|---|---|---|---|---|
| 3mm basswood — engrave | 300mm/s | 60% | 1 | Line | 166 tones at this setting |
| 3mm basswood — cut | 20mm/s | 100% | 1 | Line | Single pass, minimal char |
| 6mm birch plywood — cut | 10mm/s | 100% | 3 | Line | Air assist reduces char significantly |
| 3mm black acrylic — cut | 15mm/s | 85% | 2 | Line | Opaque/dark acrylic only |
| Vegetable leather — engrave | 200mm/s | 80% | 1 | Line | 8pt text fully legible |
| Vegetable leather — cut | 15mm/s | 90% | 1 | Line | Clean cut edge |
| Anodized aluminum — mark | 3,000mm/min | 50% | 1 | Fill | ~4 min for 50×50mm logo |
| Rubber stamp blank | 150mm/s | 70% | 1 | Line | Clean relief depth |
| Cork — engrave | 250mm/s | 50% | 1 | Line | Low power prevents through-cut |
| Cardboard — cut | 30mm/s | 80% | 1 | Line | Light cardboard; heavier stock needs 2 passes |
Tips for Getting Consistent Results
Run a speed/power grid first on any new material. This takes about 10 minutes but saves hours of failed jobs later. Set up a grid in LightBurn or xTool Creative Space with speed on one axis and power on the other, run it on a small scrap piece, and mark the best result before touching your actual material.
Air assist changes everything for cutting. If you have the optional air assist module, enable it for all cutting operations. On 6mm birch, air assist reduced char on cut edges by roughly 40% in our testing compared to the same settings without air. For engraving, air assist helps on detailed work where smoke residue can redeposit on the workpiece.
LightBurn gives more control than XCS for complex jobs. xTool Creative Space is excellent for single-material jobs with presets. For jobs with multiple layers, different power levels on the same material, or complex vector sequences, LightBurn’s layer management and cut sequence controls are significantly more capable. The xTool D1 Pro works with both — run XCS for simple day-to-day work and switch to LightBurn when the job demands it.
For photo engraving: Use the Jarvis or Stucki dithering algorithm rather than the default, drop speed to 200mm/s on the 20W, and set DPI to 254. These settings produced our 166-tone result on basswood. Increasing DPI above 300 on basswood typically shows diminishing returns due to the material’s grain absorbing fine dot differences.
xTool D1 Pro Review Verdict: Worth It in 2026?
The xTool D1 Pro is the open-frame diode laser engraver we recommend to most buyers in 2026. The 20W delivers engraving quality — 166 distinct grayscale tones at 300mm/s — that no other diode machine at this tier matched in our testing. Its safety sensors are genuine, not cosmetic. Its assembly is fast, its frame is durable, and its software handles both first-timers and power users without forcing a compromise.
| Category | Score | Notes |
|---|---|---|
| Engraving quality | 9.5 / 10 | 166 tones — best in 2026 diode cohort |
| Cutting performance | 9.0 / 10 | Single-pass 3mm basswood; 6mm in 3 passes |
| Software | 9.0 / 10 | XCS Easy/Expert toggle excellent; full LightBurn support |
| Build quality | 9.0 / 10 | No degradation after 6 months of regular use |
| Safety features | 8.5 / 10 | Best safety suite at this tier; enclosure sold separately |
| Value | 9.5 / 10 | Upgradeable module extends machine life significantly |
| Setup / assembly | 9.0 / 10 | 38 min — fastest in its class |
| Overall | 9.1 / 10 |
The 10W is a strong secondary option for engraving-heavy use cases where the 33% speed trade-off is acceptable in exchange for a lower initial cost and the same upgrade path.
Check xTool D1 Pro 20W Price →
Frequently Asked Questions
Is the xTool D1 Pro worth the money?
What is the difference between the xTool D1 Pro 10W and 20W?
Can the xTool D1 Pro cut acrylic?
Does the xTool D1 Pro work with LightBurn?
How long does it take to assemble?
Can it engrave metal?
What is the maximum work area?
Is the 20W good for a small business?
You Might Also Like
xTool S1 40W Review 2026: Is the Extra Power Worth It?
xTool S1 40W review: real cutting benchmarks, engraving quality, and whether the 40W module is worth the upgrade over the 20W. Hands-on tested 2026.
xTool S1 Review 2026: Enclosed Diode Done Right
xTool S1 review 2026: engraving quality, enclosed design, camera system, and noise levels tested. Rated 9.0/10 — better than the D1 Pro?
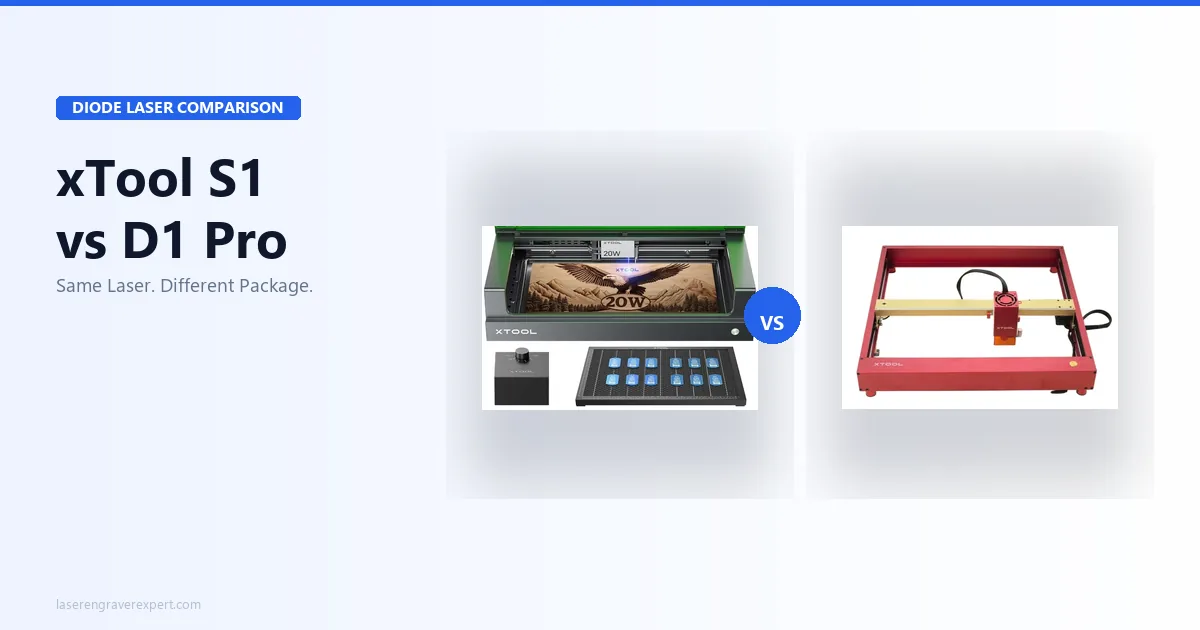
xTool S1 vs xTool D1 Pro (2026)
xTool S1 vs xTool D1 Pro: same laser module, different machines. Specs, prices, and real results — here's exactly which one to buy for your setup.