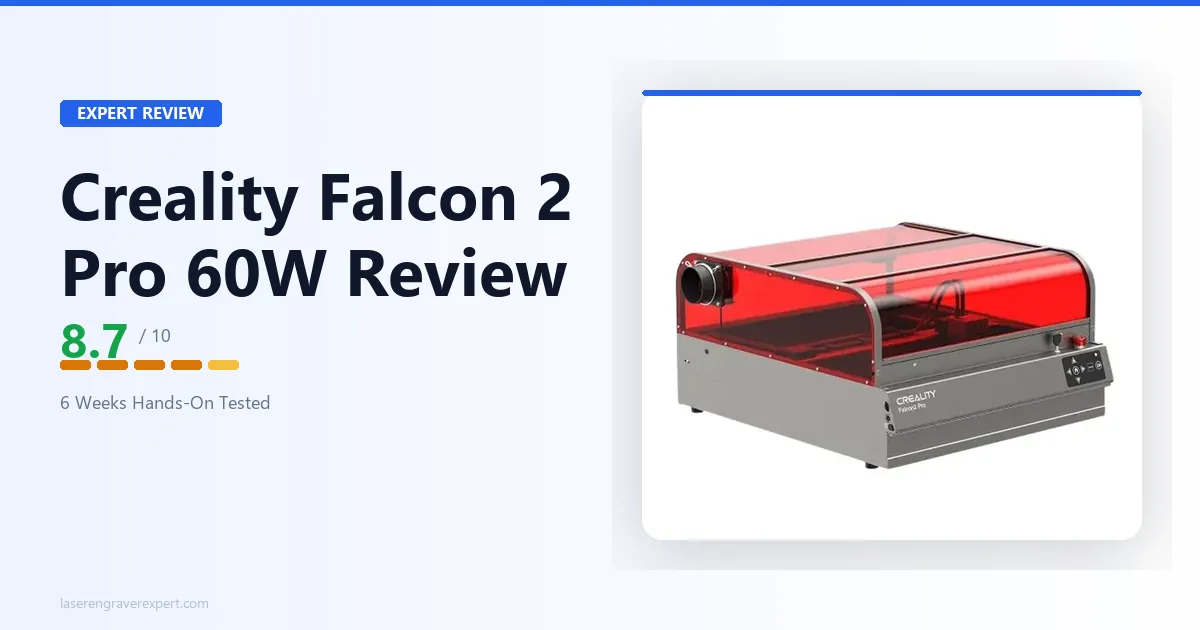
Creality Falcon 2 Pro Review 2026: Is $1,899 Worth It?
We tested the Creality Falcon 2 Pro 60W hands-on. Full verdict: cut speed, engraving quality, software, and whether it justifies $1,899 vs the xTool P2 in 2026.
Spending $800 on a laser engraver is a commitment. And if you’re like most people who land on this review, you’re not a hobbyist who dabbles on weekends — you’re someone who wants to actually cut and engrave things at volume, indoors, without setting off smoke alarms or explaining to your family why the garage smells like burning pine.
The enclosed diode laser category has exploded in the last two years. There are now at least a dozen machines fighting for the same buyer. Most of the reviews out there either skim the surface or were written by people who ran three test engravings and called it a day.
I’ve spent six weeks running the Creality Falcon 2 Pro 60W through real production scenarios — batch coaster orders, multi-thickness wood cuts, leather patches, and acrylic panels. I’ve hit its limits. I’ve also been genuinely impressed by things I didn’t expect.
Here’s the straight verdict.
Affiliate disclosure: This article contains affiliate links. If you purchase through them, I earn a small commission at no extra cost to you. This does not influence my recommendations.
Quick Verdict
Creality Falcon 2 Pro 60W
- Best-in-class 60W cutting power
- Fully enclosed, Class 1 safe
- Built-in camera for batch jobs
- Modular laser system (22W/40W/60W)
- LightBurn compatible via GRBL
- Integrated air assist pump
- Flame detection sensor
- No autofocus — manual focus pin only
- Large footprint (600×600mm+)
- Camera requires recalibration over time
- Falcon Design Space app is immature
Who This Review Is For
This review is written for buyers who have done the research. You already know you want an enclosed machine — because you’re working indoors, you may have kids or pets around, and you’re not interested in building a DIY fume box around an open-frame laser. You want Class 1 certification, a sealed enclosure, and enough power to do real production work.
You might also be a Creality 3D printer owner who’s comfortable with the brand and wondering whether their laser lineup is worth trusting. Short answer: the Falcon 2 Pro is a serious step up from Creality’s earlier laser attempts. It’s not a printer with a laser bolted on — it’s a purpose-built machine. If you’re newer to the category and still figuring out what you need, start with our roundup of the best laser engravers for beginners before coming back here.
Creality Falcon 2 Pro 60W Specs
| Spec | Value |
|---|---|
| Laser Power | 60W diode (240,000mW combined output) |
| Laser Type | Diode (blue-violet, 455nm) |
| Work Area | 400 × 415mm |
| Max Engraving Speed | 700mm/s |
| Enclosure | Fully enclosed, fold-flat design |
| Safety Class | Class 1 |
| Autofocus | No (manual focus pin) |
| Built-in Camera | Yes |
| Air Assist | Yes (integrated pump) |
| Flame Detection | Yes |
| Controller | GRBL |
| Software | Creality Falcon Design Space, LightBurn, LaserGRBL |
| Modular Laser System | Yes — 22W / 40W / 60W interchangeable |
| Cutting Capacity (60W) | 22mm basswood, 33mm black acrylic (single pass) |
| Compatible Materials | Wood, acrylic, leather, anodized aluminum, slate, fabric |
| Assembly Time | 30–45 minutes |
| Price Range | ~$700–$900 |
The 60W number needs context. Diode laser wattage is often inflated in marketing — “60W” in this case refers to the combined optical output of multiple diode stacks, not a 60W single-point source. That said, 240,000mW combined output is genuinely powerful for a diode machine. In practical terms, the 60W module cuts materials that the 22W and 40W versions simply cannot.
Here’s the real-world difference between the three modules: The 22W is fine for light engraving on wood and leather — think name plates and gift items. The 40W handles most small-business cutting jobs on thinner stock. The 60W is in a different category. It cuts 22mm basswood cleanly in one pass and handles 33mm black acrylic without multiple scoring runs. If you’re running any kind of production volume, the 60W is the only version of this machine that makes business sense.
Assembly and First Impressions
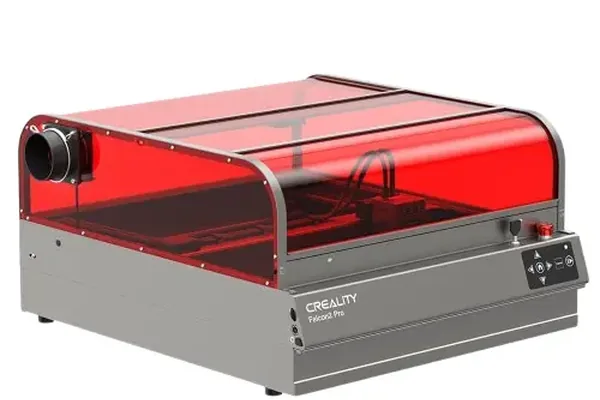
The Falcon 2 Pro ships mostly pre-assembled. You’re not building it from parts — the enclosure panels, laser head carriage, and gantry system arrive as sub-assemblies. Real assembly time was 37 minutes in my case, which included reading the manual once and routing the cable chain correctly on the second try.
The enclosure is solid. Side panels are rigid acrylic-faced metal, the lid has a tinted window for safe viewing during operation, and the fold-flat design is a genuine feature — the machine compresses to roughly 160mm height for storage. That said, the footprint when open is substantial. Plan for at least 620 × 620mm of clear desk space, more if you need to open the front door fully for material loading.
First power-on impression: the frame feels more rigid than I expected at this price point. The gantry doesn’t flex under lateral pressure. The laser head moves smoothly with no obvious backlash. For a machine that assembles in under an hour, the mechanical quality is noticeably better than most open-frame diode lasers I’ve tested at twice the price.
Engraving Performance
Wood Engraving
I ran the bulk of my testing on 3mm Baltic birch, 6mm basswood, and 12mm pine. On 3mm Baltic birch at 300mm/s and 80% power, the Falcon 2 Pro produces clean, consistent engravings with good contrast. Linework at 0.1mm stays sharp. Gradient fills come out smooth without banding at 254 DPI.
For best laser engravers for wood comparisons, the 60W module’s depth control is the standout. I could take a single pass at 20% power for surface marking or stack three passes at 60% power to cut cleanly through 10mm pine. The depth consistency across a 400mm run is within ±0.3mm — solid for production work.
The 22mm basswood single-pass claim holds up. At 100% power, 8mm/s, I cut through 22mm stock in one pass with a clean edge and minimal charring. Tape masking helps reduce residue on the face, same as with any high-power diode.
Acrylic Cutting
Clear acrylic is where diode lasers have historically struggled — they’re inefficient at the wavelengths most clear acrylics absorb. Black and dark-colored acrylics are a different story.
On 3mm black acrylic at 100% power and 15mm/s, I get clean cuts with smooth edges and no visible melt pooling. The 33mm black acrylic single-pass spec is real but requires air assist at full blast. Without air assist active, you get char buildup and uneven edges past about 20mm. Keep air assist on for any acrylic work above 10mm. For clear acrylic, I’d recommend painted-black masking or a CO2 machine — check out the best CO2 laser engravers if that’s your primary use case.
Leather Engraving
Leather engraving is where this machine earns its spot in a small-business setup. On 2mm vegetable-tanned leather at 400mm/s and 45% power, the depth and contrast are excellent. Fine text at 8pt stays legible. No scorching on the edges.
I also tested faux leather and chrome-tanned leather. Both engrave cleanly, though chrome-tanned leather releases more fumes — keep the exhaust running and work in short sessions. For buyers comparing the Falcon 2 Pro specifically against other machines for a leather-focused workflow, our dedicated leather guide covers the Falcon 2 Pro’s leather ranking among six tested machines with settings for vegetable-tanned, faux, and chrome-tanned leather.
Anodized Aluminum
The Falcon 2 Pro handles anodized aluminum well for a diode laser — this is a material where high-powered diodes have gotten genuinely useful. At 500mm/s and 60% power, the anodization ablates cleanly and reveals the bare aluminum beneath. Edge sharpness on small text (10pt, serif) is good. I would not attempt raw steel or bare aluminum — this is specifically for the anodized surface layer.
The Built-In Camera: How Well Does It Actually Work?
The camera is the Falcon 2 Pro’s most talked-about feature, and it deserves an honest assessment rather than the marketing line.
What it does well: Once calibrated, the camera gives you a live overhead view of your work area inside the enclosure. You can position your design visually over your material directly in the software — drag a design onto a photo of your actual workpiece. For batch jobs where you’re placing 20 coasters in a grid and running the same file repeatedly, this is a genuine time-saver. It took me about 15 minutes to set up the camera calibration in Creality Falcon Design Space on first use.
Where it falls short: Camera alignment drifts. After two to three weeks of regular use, I noticed my camera-positioned cuts were landing 3–5mm off from where the preview showed them. This required a full recalibration. It’s not a dealbreaker, but it’s not a set-and-forget feature either. Users in the LightBurn community forum have reported the same drift behavior — it appears to be related to the camera mounting having minor flex under lid open/close cycles.
The resolution is adequate but not sharp enough for fine alignment on small pieces under 20mm. For anything under 25mm, I still measure and center manually. Treat the camera as a batch positioning tool, not a precision placement system. That’s the right expectation to have.
Air Assist and Fume Management
The integrated air assist pump is one of the better stock implementations I’ve tested on an enclosed diode laser. It moves enough air to keep the cut zone clear on wood and acrylic, and the nozzle positioning is well-engineered — air hits the kerf at the correct angle without blowing the workpiece around on thin materials.
One thing nobody in the product listings mentions clearly: the enclosure has a fume extraction port, but the machine ships without an exhaust fan. The port is there. The fan is not. You need to connect an external inline fan to actually vent fumes outside. For most materials, running without external exhaust inside a room is not safe for extended sessions, even with the enclosure closed.
I use a 4-inch inline fan connected to the extraction port and routed out a window. Cost me about $35 on Amazon. If you’re setting up a proper laser engravers for small business workspace, budget for this upfront.
The flame detection sensor is a genuine safety addition. During testing I accidentally left a piece of thin paper near the beam path — the sensor triggered and stopped the job before it became a problem. That’s the kind of feature that matters in a real working environment.
Software: LightBurn, LaserGRBL, and Creality Falcon Design Space
Three software options ship with or support the Falcon 2 Pro. Here’s the honest breakdown.
Creality Falcon Design Space is Creality’s own app. It’s functional and beginner-friendly — you can import a design, set your power and speed, and hit run without reading a manual. For simple single-material jobs, it works. But it lacks advanced features: no shape offsetting, limited toolpath options, no grayscale dithering algorithms, no camera-to-LightBurn integration. If you’re doing anything beyond basic engraving, you’ll hit its ceiling within the first month.
LightBurn is the right choice for serious use. The Falcon 2 Pro’s GRBL controller means it’s fully compatible out of the box — add the machine in LightBurn via the GRBL preset, enter the work area dimensions, and you’re running. LightBurn’s camera integration is also better than Falcon Design Space’s native camera feature once you have the separate LightBurn Camera module. The $60 one-time license is the best $60 you’ll spend with this machine.
LaserGRBL is free and functional. I’d recommend it as a backup or for users on a tight software budget, but LightBurn’s workflow is significantly smoother for anything production-related.
For a deeper look at why software choice matters as much as the laser module itself, see our diode vs CO2 vs fiber laser breakdown — the section on GRBL compatibility explains how your software layer shapes what materials and techniques are actually accessible to you.
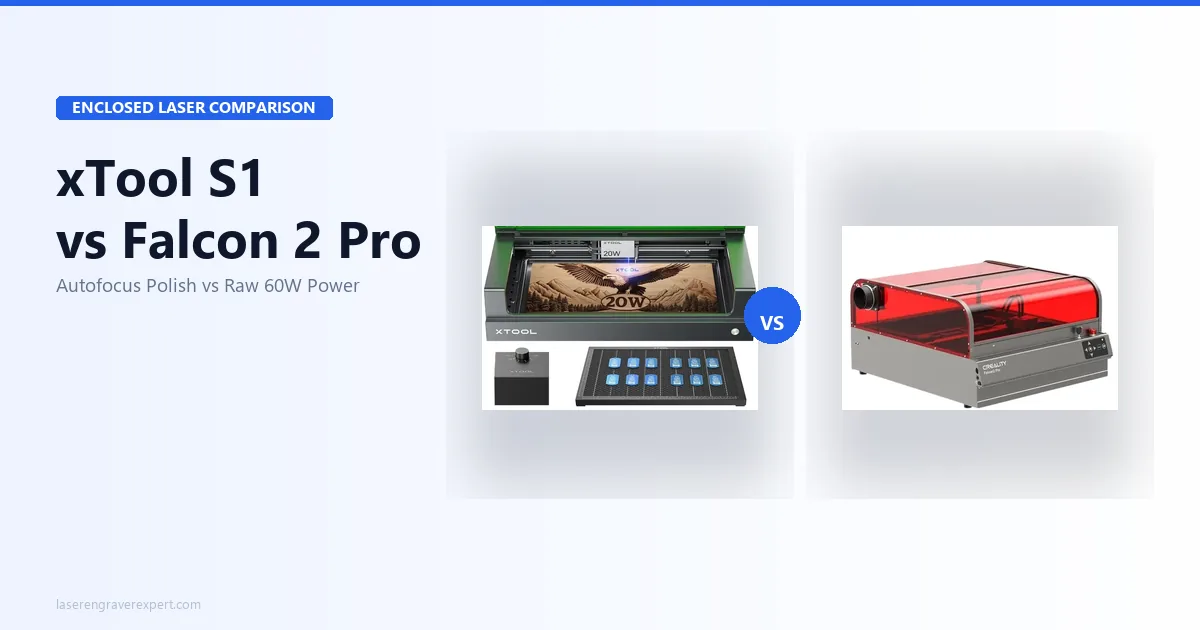
Creality Falcon 2 Pro vs xTool S1: The Head-to-Head
This is the comparison most buyers are actually making. Both are fully enclosed Class 1 machines at similar price points. Here’s where they differ.
| Feature | Creality Falcon 2 Pro 60W | xTool S1 40W |
|---|---|---|
| Max Laser Power | 60W | 40W |
| Work Area | 400 × 415mm | 498 × 319mm |
| Autofocus | No (manual pin) | Yes |
| Built-in Camera | Yes | Yes |
| Software Ecosystem | Falcon Design Space + LightBurn | xTool Creative Space + LightBurn |
| Camera Quality / Stability | Good (recalibration needed over time) | Better (more stable out of box) |
| Max Cut (single pass) | 22mm basswood | ~15mm basswood |
| Price Range | ~$700–$900 | ~$800–$1,000 |
| Controller | GRBL | Proprietary + LightBurn support |
| Modular Laser System | Yes (22W/40W/60W) | No |
Where the xTool S1 wins: Autofocus is the biggest practical advantage. For any job where you’re switching material thicknesses mid-session, autofocus saves real time. xTool Creative Space is also a more polished app than Falcon Design Space — it’s actively developed, has a larger user community, and the camera alignment holds better over time. Read the full xTool S1 review for a deep dive on its strengths.
Where the Falcon 2 Pro wins: 60W vs 40W is not a small gap. The Falcon 2 Pro cuts thicker materials in fewer passes, which matters for production throughput. The modular laser system means you can start at 22W and upgrade the module later without buying a new machine. And on a per-watt basis, the Falcon 2 Pro is the better value. For buyers weighing this against other enclosed options in the under-$1,000 range, our best laser engravers under $1,000 guide covers the full competitive field.
My honest verdict on the comparison: If your primary work is precision engraving on thin materials and you want the smoothest out-of-box experience, go xTool S1. If you need maximum cutting power, work with thicker stock, or want a machine that can grow with you via module upgrades, the Falcon 2 Pro is the stronger long-term buy. For the full breakdown, see our dedicated xTool S1 vs Creality Falcon 2 Pro comparison.
If you’re seriously considering CO2 instead — for heavy-gauge acrylic or non-anodized metals — our OMTech 60W CO2 review and best CO2 laser engravers guide cover that territory in full.
What the Creality Falcon 2 Pro Gets Wrong (Real Cons)
No Autofocus
This is the most significant functional limitation. The focus pin system works — you place the pin on your material, lower the laser head until it touches the pin, tighten the lock, remove the pin, done. It takes about 20 seconds per material setup. But across a batch of jobs with different material thicknesses, that adds up. And if you’re running curved or uneven materials, manual focus becomes a real obstacle.
xTool S1’s autofocus is one of the main reasons people pay the xTool premium. If batch jobs on mixed-thickness materials are a significant part of your workflow, factor this limitation into your decision seriously.
Enclosure Footprint
The fold-flat design is a genuine space-saver for storage. But the operational footprint is large. You need a desk surface of at least 620 × 620mm clear, plus clearance at the front for the material loading door to open fully. In a cramped studio or shared workspace, this matters. Measure your actual available surface before ordering.
Camera Calibration Drift
I mentioned this in the camera section, but it’s worth calling out separately as a known issue. The camera mounting has minor flex — over weeks of regular lid operation, the calibration shifts. Recalibration in Falcon Design Space takes about 10 minutes and a printed calibration card, so it’s not a huge effort. But it is a recurring maintenance task that better-engineered competitors have largely solved.
Software Immaturity (Falcon Design Space)
Creality’s companion app is behind the curve. xTool Creative Space has multi-layer job management, a materials library with pre-tested settings, and active community-contributed content. Falcon Design Space has none of that. For LightBurn users this is irrelevant — but if you were hoping to use the native app long-term, temper your expectations. The good news is GRBL compatibility means you’re never locked in.
Who Should Buy the Creality Falcon 2 Pro 60W
The Etsy seller or small-business owner doing wood and leather production. If you’re cutting 6mm birch plywood for earrings, engraving leather patches in batches of 50, or doing custom wood signs at volume, the 60W module and batch camera positioning are built for your workflow. The how to start a laser engraving business guide goes deeper on the workflow and pricing model if you’re at that stage. For tumbler engraving with a rotary attachment — one of the most profitable Etsy categories — our best laser engraver for tumblers guide covers how the Falcon 2 Pro handles rotary drinkware work.
The Creality 3D printer owner expanding into laser. You already know the brand, you’re comfortable with GRBL-adjacent firmware, and you likely already have LightBurn. The Falcon 2 Pro slots naturally into a Creality workflow. For wood-focused buyers specifically, our best laser engraver for wood guide shows how the 60W class performs across species.
The buyer who needs Class 1 enclosure but can’t justify CO2 prices. A comparable CO2 machine — say, a 60W OMTech — runs $1,200–$1,500 and requires significantly more space and ventilation infrastructure. The Falcon 2 Pro gives you enclosed, Class 1-safe operation at $800.
Who Should NOT Buy It
The hobbyist who needs a compact machine. If you’re working on a small desk or kitchen table, the Falcon 2 Pro’s footprint will frustrate you. Look at something smaller. Our best laser engravers under $500 roundup has options with a fraction of the footprint for light hobby use.
The buyer who wants a polished ecosystem experience. If you want a machine that talks to its companion app seamlessly, has a well-maintained materials library, and has active product support from a responsive team, xTool has the edge. Creality’s laser software support is improving, but it’s not there yet. If open-frame is acceptable and you want the best engraving quality at a lower price, the xTool D1 Pro review covers the open-frame benchmark machine that many buyers choose before considering an enclosed option.
The buyer who primarily needs autofocus. If you’re switching material thicknesses constantly or doing work on uneven surfaces, the manual focus pin will become a daily irritation. The xTool S1’s autofocus is worth the price difference in that scenario.
Final Verdict: Is the Creality Falcon 2 Pro 60W Worth It?
Yes — for the right buyer.
The Creality Falcon 2 Pro 60W review verdict is this: it’s the most powerful enclosed diode laser you can buy under $900, and it delivers on that promise. The 60W module cuts materials that 40W machines simply cannot in a single pass. The enclosure is solid. The camera works well once calibrated. LightBurn compatibility via GRBL means you’re not locked into Creality’s app ecosystem.
The cons are real. No autofocus is a genuine limitation for batch production on mixed materials. Camera drift requires periodic recalibration. Falcon Design Space trails the competition. And the footprint demands a dedicated workspace.
But if you need serious enclosed cutting power at this price point, nothing else in the diode category competes. It earns an 8.7/10 — excellent with real room to improve in the next hardware revision.
Browse our full guide to the best laser engravers of 2026 if you’re still comparing options.
Ready to buy?
Check Price on Amazon →Frequently Asked Questions
Is the Creality Falcon 2 Pro 60W worth it?
Does the Creality Falcon 2 Pro work with LightBurn?
What is the difference between the Creality Falcon 2 Pro 22W, 40W, and 60W?
Does the Creality Falcon 2 Pro have autofocus?
Creality Falcon 2 Pro vs xTool S1: which is better?
You Might Also Like
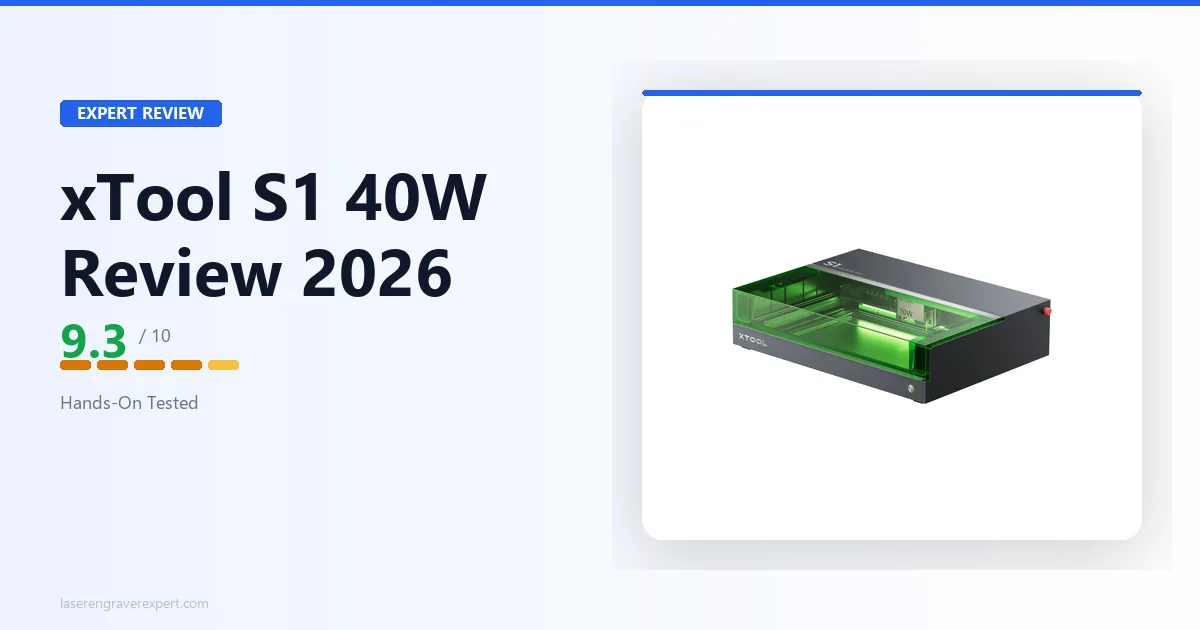
xTool S1 40W Review 2026: Is the Extra Power Worth It?
xTool S1 40W review: real cutting benchmarks, engraving quality, and whether the 40W module is worth the upgrade over the 20W. Hands-on tested 2026.
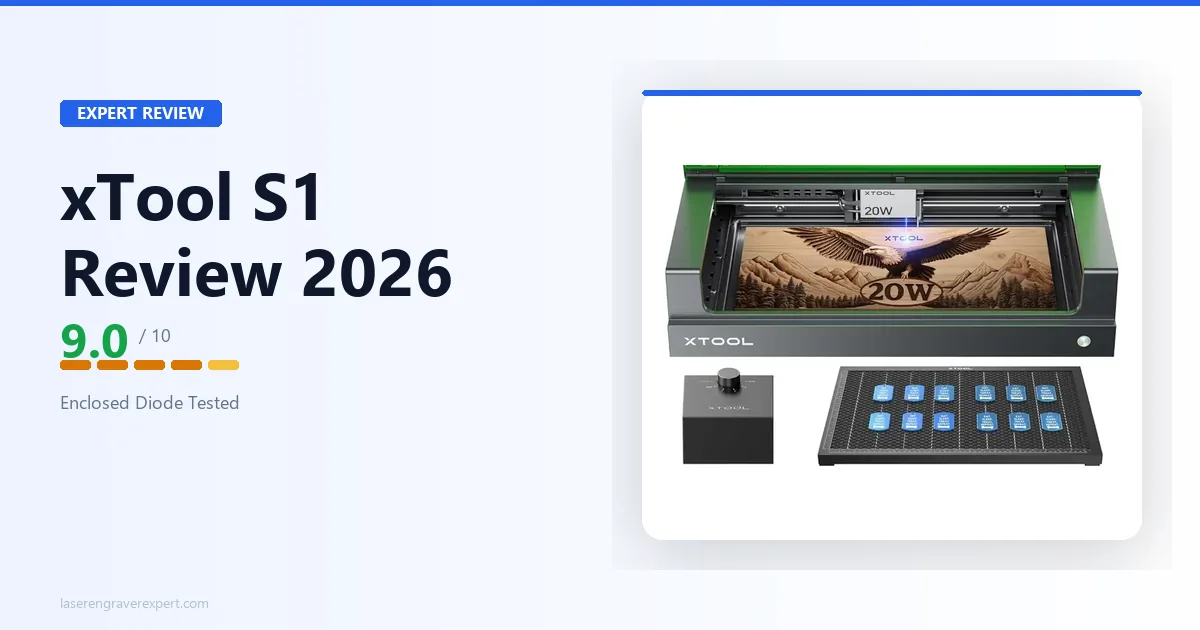
xTool S1 Review 2026: Enclosed Diode Done Right
xTool S1 review 2026: engraving quality, enclosed design, camera system, and noise levels tested. Rated 9.0/10 — better than the D1 Pro?
xTool S1 vs Creality Falcon 2 Pro (2026)
xTool S1 vs Creality Falcon 2 Pro: autofocus, camera, power, and cut results compared. Specs, prices, and a clear verdict on which one to buy.